
Test: InfiRay E3 Plus V2.0 Thermal Monocular - Far-Sighted Everything
The Infiray E3 Plus V2.0 is therefore a camera that can be used in mixed terrain, as its angle of view is still large enough to get a comprehensive view of what is happening in a covered environment, forest, bush or even hilly area, and it has enough zoom detection distance to supply observation in open, agricultural areas. By the way, the detection distance is 1,300 meters in the case of human figures, in many cases we will also see pigs and deer from even further field.
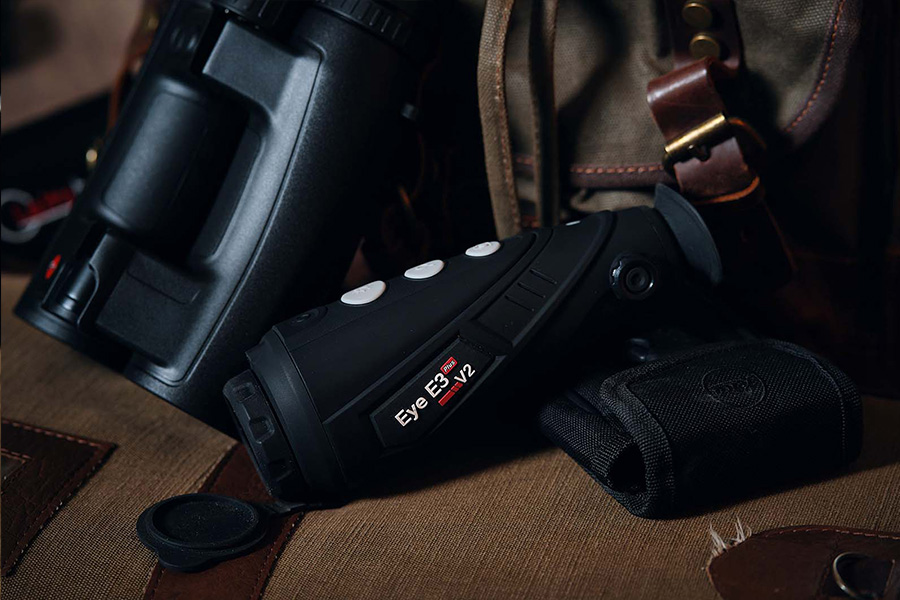
Construction and appearence
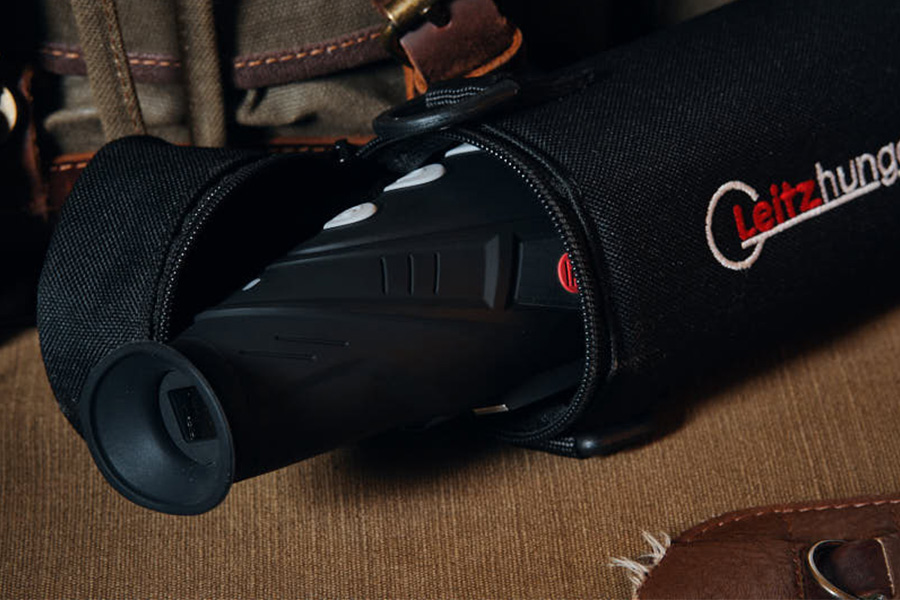
The camera is still very ergonomic to operate, the buttons are at hand, the focus ring moves precisely, and the the thermal images are sharp from wall to wall. The diopter adjustment system and function is still not the sharpest knife in the drawer, but it can be used for most of us. The manufacturer does offer the suede bag for the camera, so if you want to attach a wrist strap or neck strap to the camera, you can attach it to the ear on the base (thin cord solution, use it boldly, the camera is not so difficult to take.)
Operation
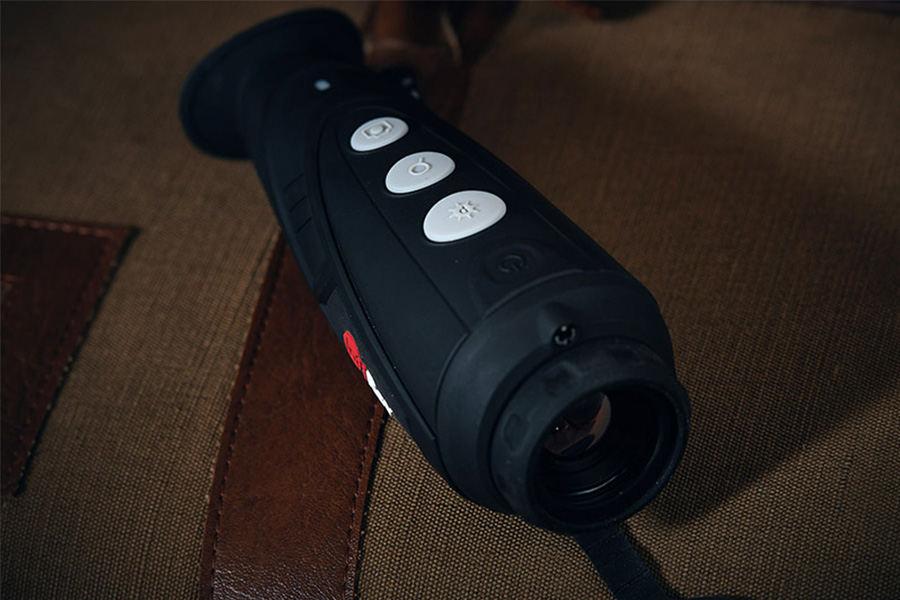
So the thermal imager still has 3 light gray function buttons and a power button. The three function keys control thermal image switching, zooming, and photo / video activation, and long presses or combinations can be used to switch other functions:
THERMAL IMAGE + ZOOM is pressed: stadiometric remote estimation, the two end buttons can be used to move the estimation lines.
PHOTO + ZOOM pressed: manual calibration (locked in S mode, silent in B mode, mode adjustable in the menu),
PHOTO + THERMAL IMAGE pressed: heat tracking, hottest point,
(If someone wants to use the laser pointer function, it must first be activated because this function is disabled at the factory. The method of activation is that the three gray buttons have to be pressed simultaneously for 10-12 seconds (this activates the laser) and then works according to the paper (ie it can be switched on and off by holding down the heat exchanger).
ZOOM pressed: main menu
PHOTO pressed: start and stop video
By importing the menu, you can access the following functions:
Activate Wifi
Adjusting the display backlight
Video OUT switching (for connecting an external display)
Calibration method: S automatic, with lock / B manual, silently with cap on
PIP window: project a magnified image onto the top of the screen
Switch on digital compass
Inclinometer connection
Laser pointer cursor adjustment (no touch required, factory set)
Calibrate compass
System information
Reset to factory settings
In humid weather, when the image is bad, it can deteriorate to the point where it is already full grainy. Now, a new software has been released for Infiray Eye2 V2, including this model. I haven’t tried much yet, but the new software seemed to calibrate these cameras more often. It’s hard to judge because the deterioration of the image isn’t spectacular in clear weather but we'll glad to see our screen could be more and more clear. E3 Plus V2.0, on the other hand, was mostly tested in rugged fall times, ever since the new software came out, it’s been clear time.
InfiRay outdoor is focused on the outdoor optoelectronic segment market. Our products include thermal imaging/digital riflescopes, thermal and night vision monoculars/binoculars, etc. We are your best companion during natural observation and hunting.


 IPv6 network supported


